建立cmstemplate網站 <<
Previous Next >> w2
建立ssh
首先將小黑編輯器打開並寫打上:
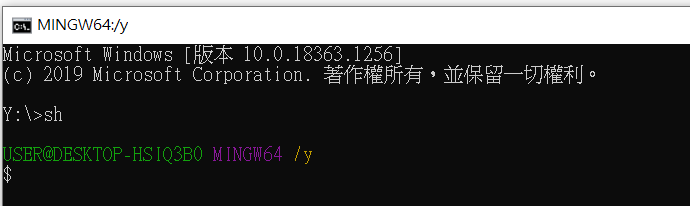
打上
ssh-keygen -t rsa -b 4096 -C "使用者學號"

第二行為鑰使儲存位置
下一行為輸入密碼
再次輸入密碼
即可獲得要鑰使
在鑰使儲存位置會找到兩個檔案(上為private key 下為 public key)

(3)
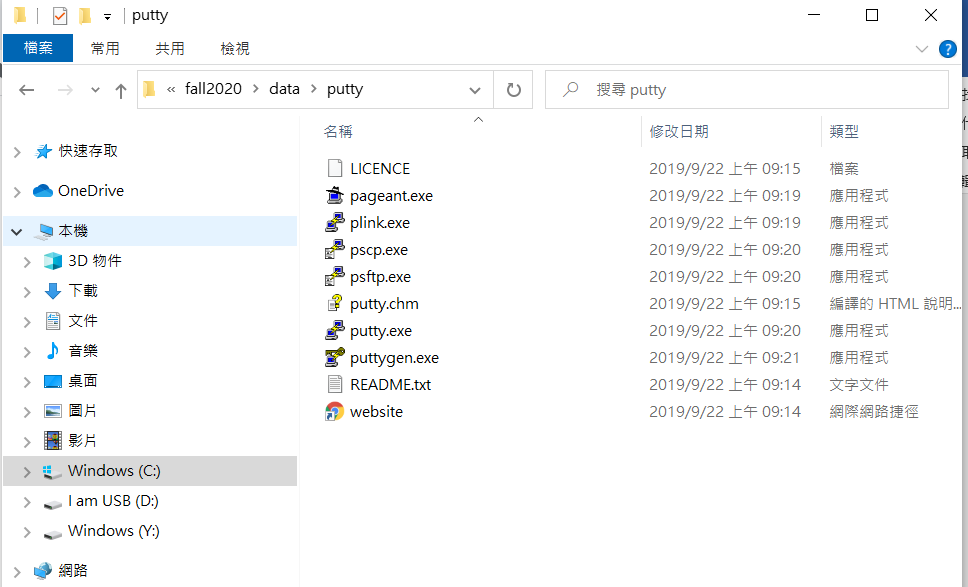
下載putty工具
會有以下檔案
利用puttygen.exe

打開後會發現下圖視窗
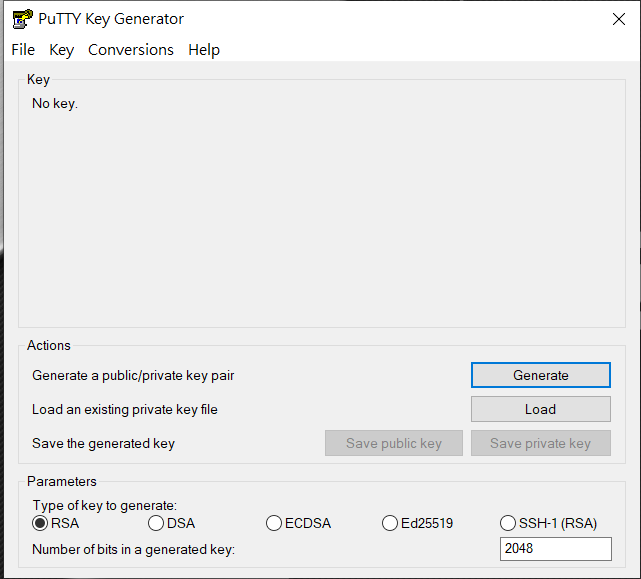
按下load
將剛才的鑰使開啟
將 id_rsa 轉為 Putty 可以解讀的 .ppk 格式
選擇所使用的鑰使

得下圖
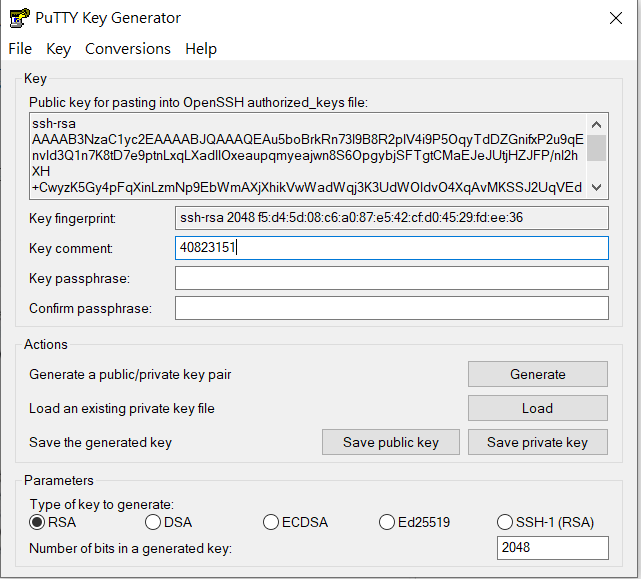
以私人的形式儲存鑰使

(4)
在github 的settings中找到SSH and GPD keys
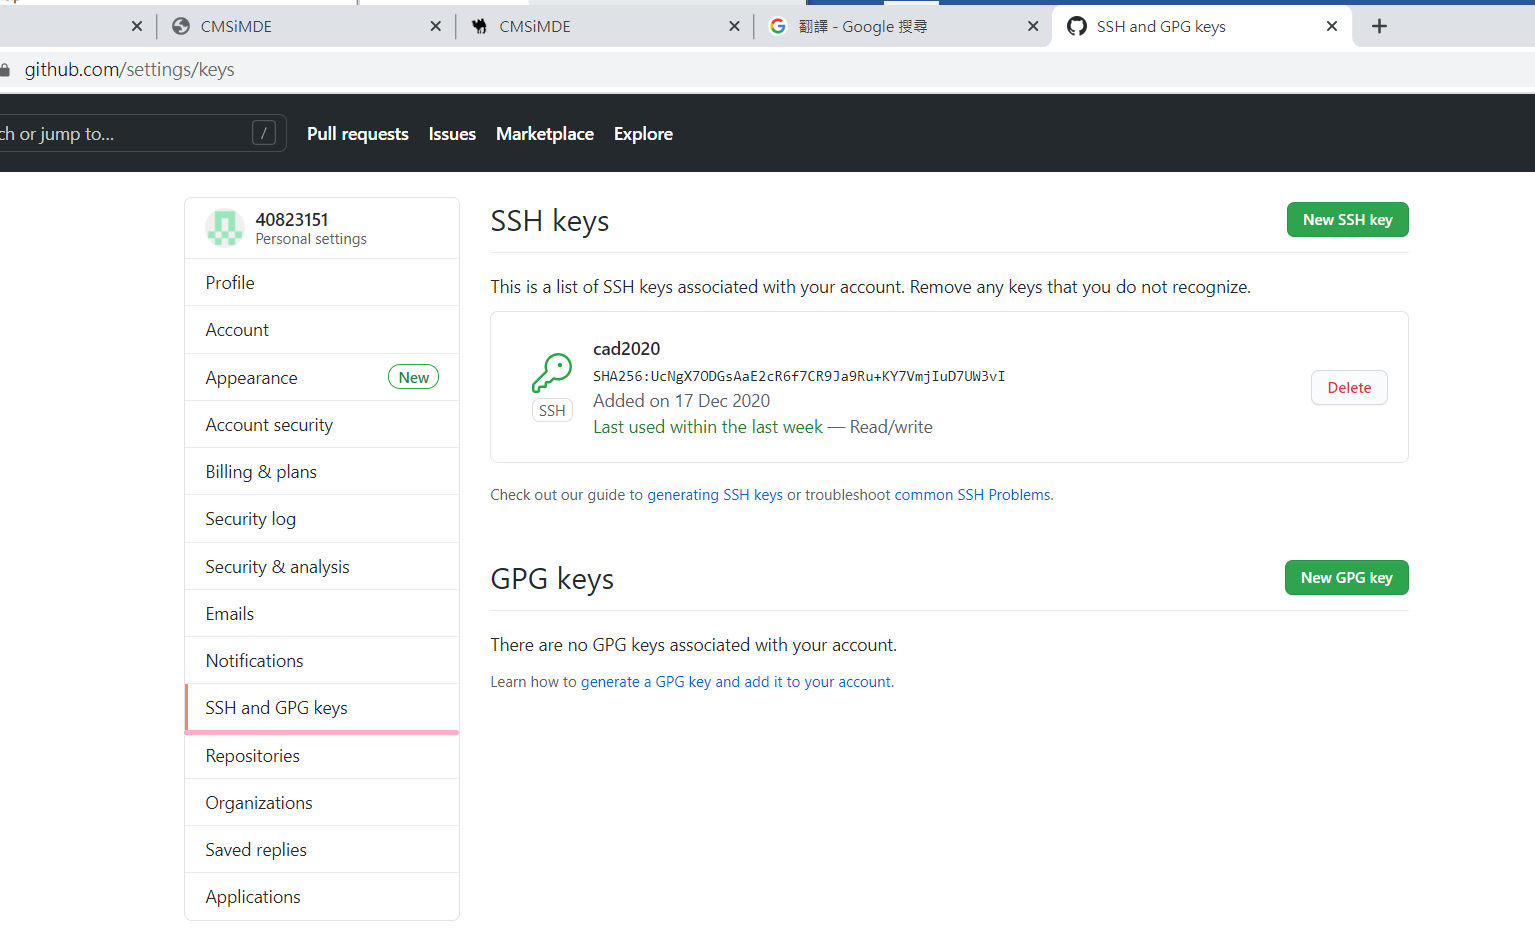
新增鑰使
將id_rsa.pub的內容
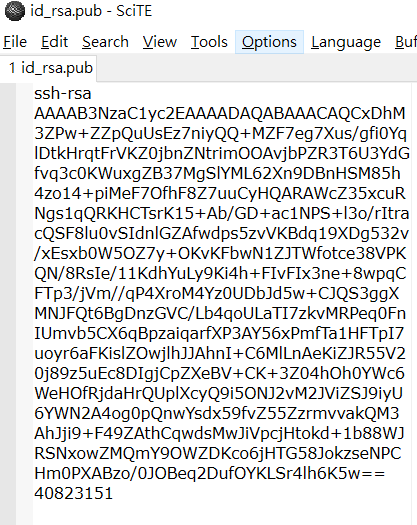
複製到
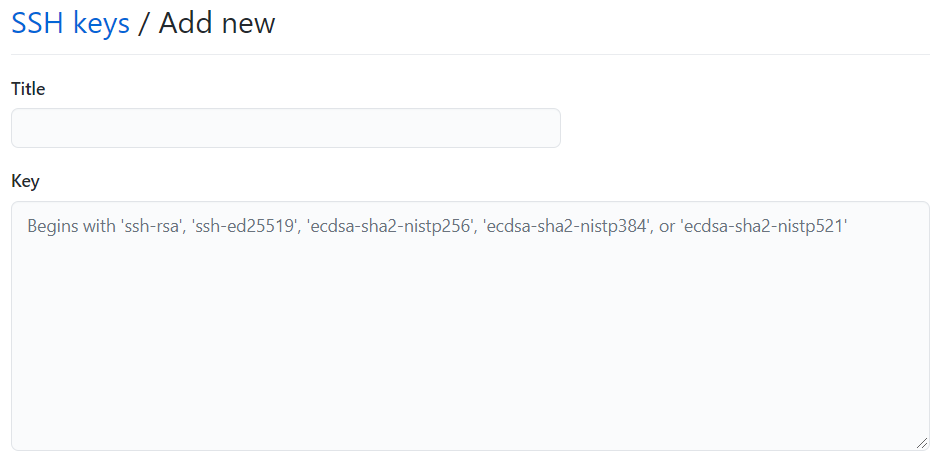
並且創建一把鑰使
(5)
修改啟動的 start.bat 加入下列設定
set GIT_SSH=%Disk%:\putty\plink.exe

(6)
home 下的 .ssh 目錄中多新增 config 並且內容如下
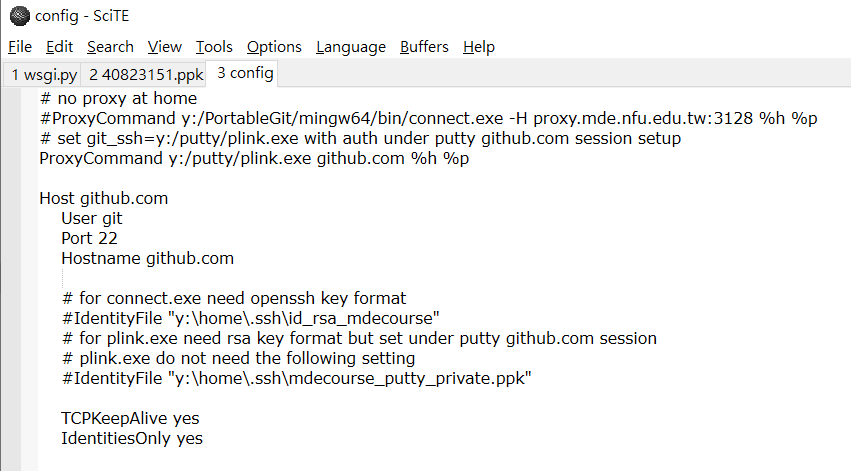
# no proxy at home
#ProxyCommand y:/PortableGit/mingw64/bin/connect.exe -H proxy.mde.nfu.edu.tw:3128 %h %p
# set git_ssh=y:/putty/plink.exe with auth under putty github.com session setup
ProxyCommand y:/putty/plink.exe github.com %h %p
Host github.com
User git
Port 22
Hostname github.com
# for connect.exe need openssh key format
#IdentityFile "y:\home\.ssh\id_rsa_mdecourse"
# for plink.exe need rsa key format but set under putty github.com session
# plink.exe do not need the following setting
#IdentityFile "y:\home\.ssh\mdecourse_putty_private.ppk"
TCPKeepAlive yes
IdentitiesOnly yes
(7)
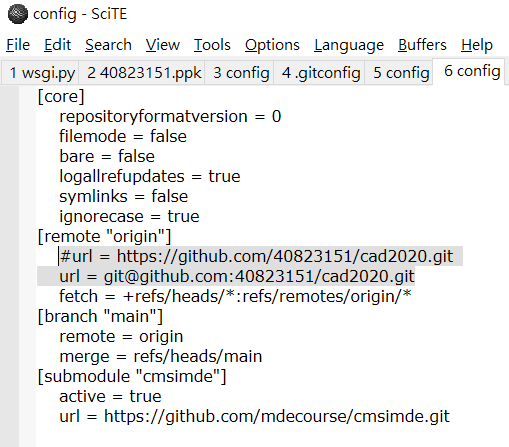
cad2020 倉儲中 .git 目錄下的 config 檔案中的連線協定, 由 https 改為採 ssh 連線
(8)
點擊putty.exe
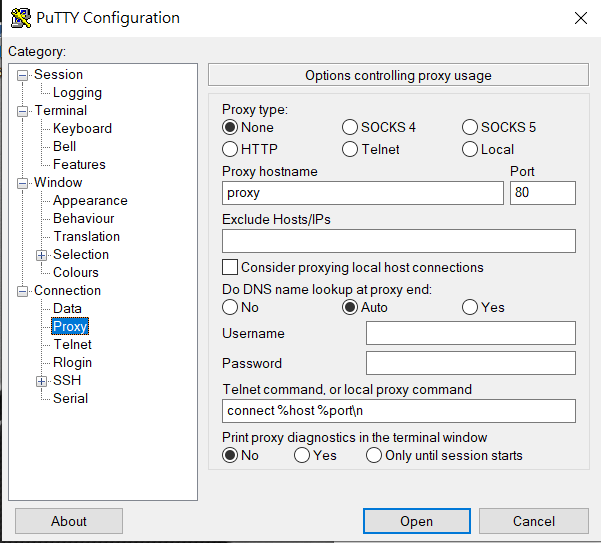
設定代理主機

建一個github.com並且save

點擊proxy並設定
設定代理主機(Proxy) (除非是IPV4 IPV6才要設定)
設定Auth
設定SSH的 ppk private key (之前轉的APK)
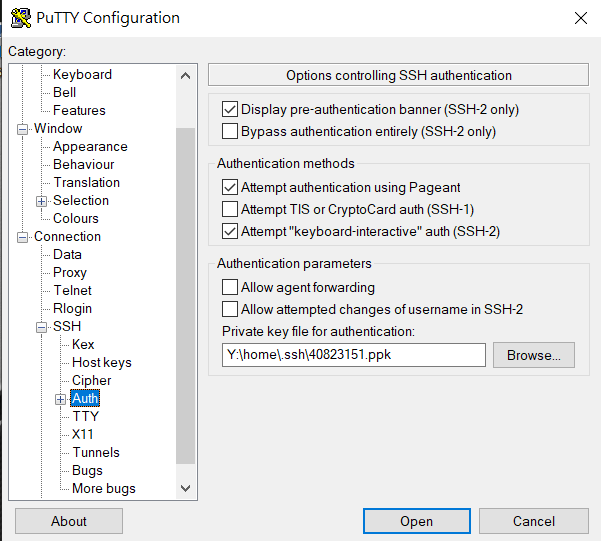
並且按下open後,就可以透過近端的 .ppk private key 與 Github.com 上的 public key 對應, 無需輸入帳號密碼就可以進行 git push
建立cmstemplate網站 <<
Previous Next >> w2